Quick start with Postman
Postman is a popular API client that simplifies the process of working with APIs. With its user-friendly interface and robust features, Postman makes it easy to send requests, analyse responses and collaborate with others. In this article, we will take you through a step-by-step guide on how to connect to the ApprovalMax public API using Postman, covering everything from creating an app to generating tokens to making API requests. Whether you're a seasoned developer or just beginning, this guide will help you get started with using the ApprovalMax public API in no time.
Requirements
Create your application in My Applications
To establish connection, you need to register your application in ApprovalMax My Applications. If you do not have an app yet, please refer to this article.
Enter https://oauth.pstmn.io/v1/callback as the redirect URL. This is crucial for receiving your token in Postman.
Download and install the Postman application
To download the latest version of the Postman desktop application, visit the Download Postman page and choose the appropriate option for your operating system. Additionally, Postman offers a web app accessible on go.postman.co/home, which allows you to perform your API calls directly in your web browser.
Some features may not be available in the web app. So, for the full range of Postman capabilities, it is recommended to use the desktop application.
For more details on Postman installation steps, please refer to the official step-by-step guide.
Import a JSON collection and set up authorisation
Once you are done with the app installation, you have to import .json collection into Postman. For this follow the steps below:
- Click on the Import button:
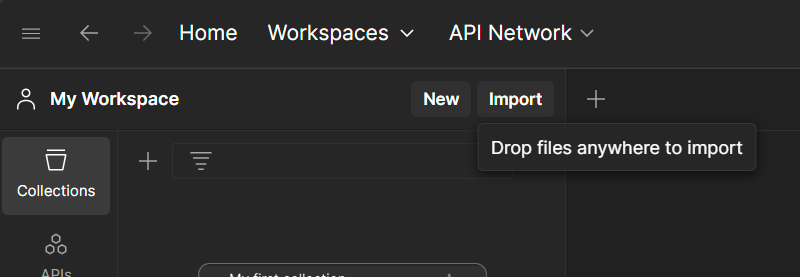
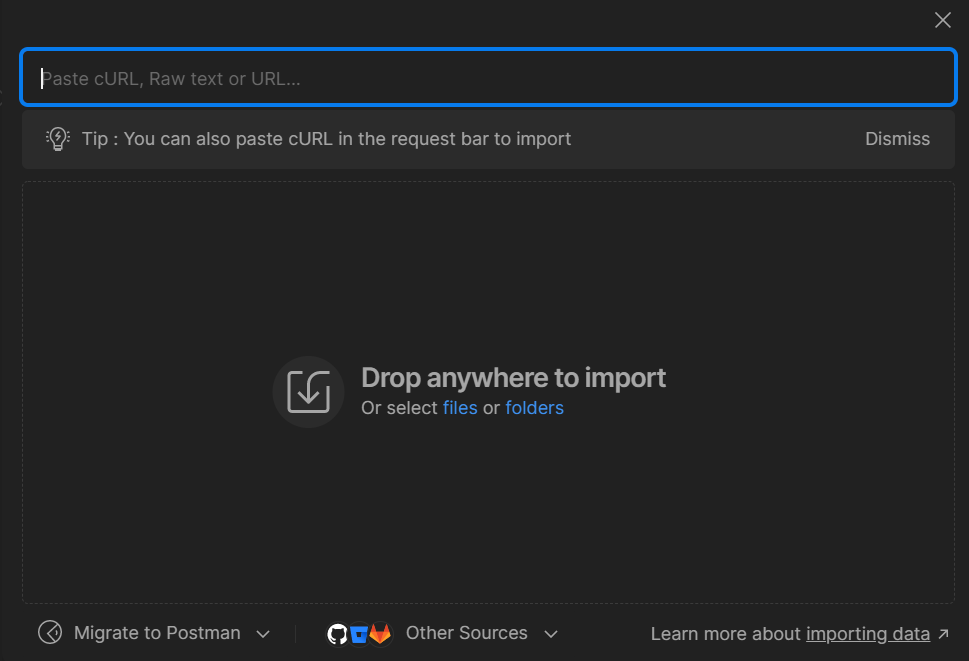
- In the Import pop-up, paste the URL
https://public-api.approvalmax.com/swagger/v1/swagger.jsonof the JSON collection:
- Click on the Import button:
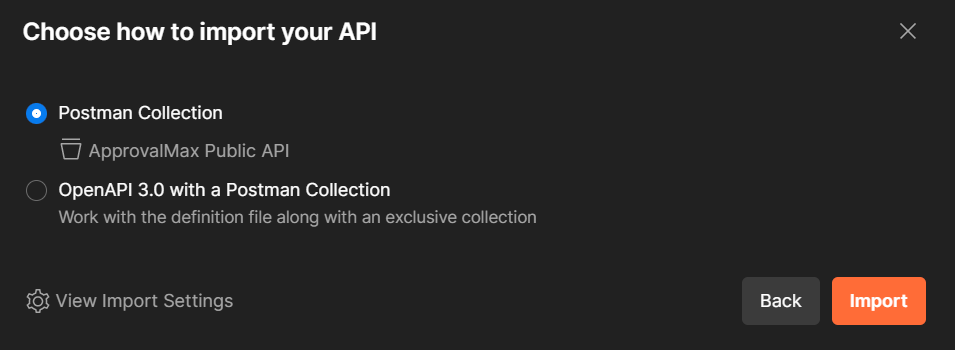
After importing the collection into Postman, you will need to do some fine-tuning.
Set up the Postman collection
Once imported, you will need to update the collection with additional information to ensure a seamless execution. This step involves making adjustments to variables and authorisation settings.
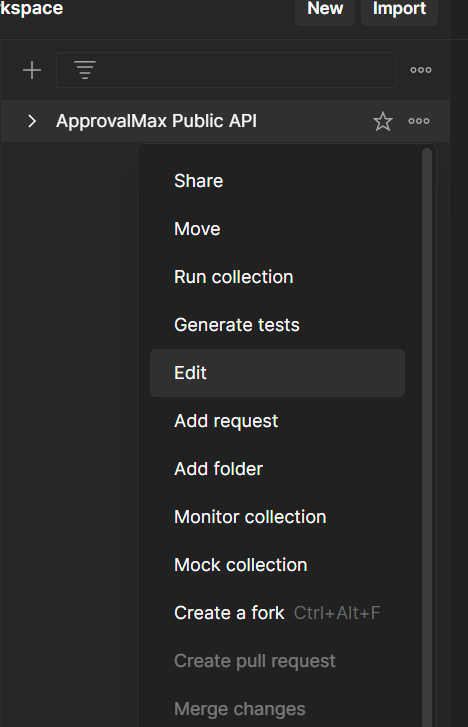
- Click on the three-dot menu next to the collection name and select "Edit":
- In the opened window, click on the Authorization tab and fill in the following data:
- Specify the authorisation type as OAuth 2.0
- In the Callback URL field, enable the Authorize Using Browser option by activating the checkbox
- Enter your application's
client-id(generated in My Applications) in the Client ID field - Enter your application's
client-secret(generated in My Applications) in the Client Secret" field - In the Scope field, specify the desired scopes for your application to operate within your Organisations. All available default scopes are pre-entered here:
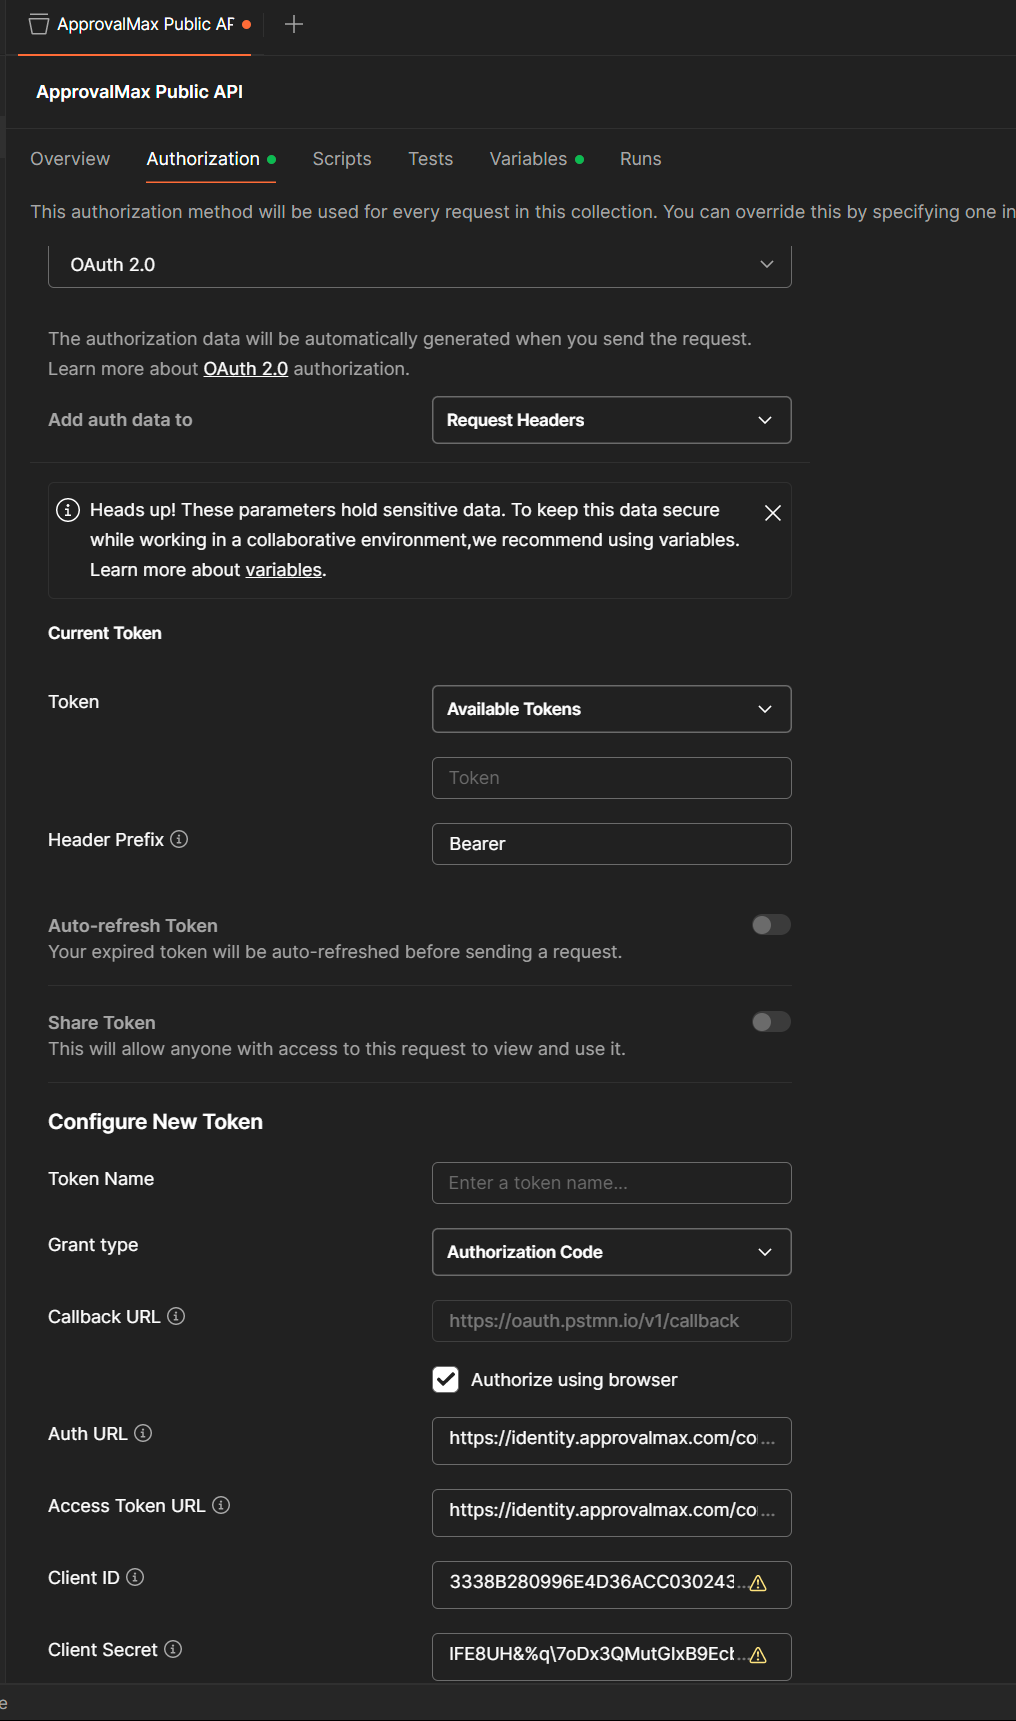
All available scopes are prepopulated by default. For more information about scopes, please refer to scopes.
When using Public API Write and Public API Read scopes in Postman, ensure that they match the scopes you configured for your application in My Applications. If the scopes in your Postman request do not align with the scopes set up in My Applications, the request will be denied.
In other words, the scopes you specify in Postman must be a subset of the scopes you configured for your application in My Applications. If there is a mismatch, the authorisation will fail and the request will be denied.
- Click on the Variables tab and paste the URL
https://public-api.approvalmax.com/in the columns Initial Value and Current Value of the baseUrl variable:

- Once you have entered all data, click on Save to apply the changes.
Generate your token
With your collection in place, you are ready to obtain a token for authenticating with the ApprovalMax Public API. For this, follow these steps:
- Navigate to the Authorisation tab. Scroll down and click on the Get New Access Token button. This will redirect you to your browser:
- On the Consent page, grant access to proceed:
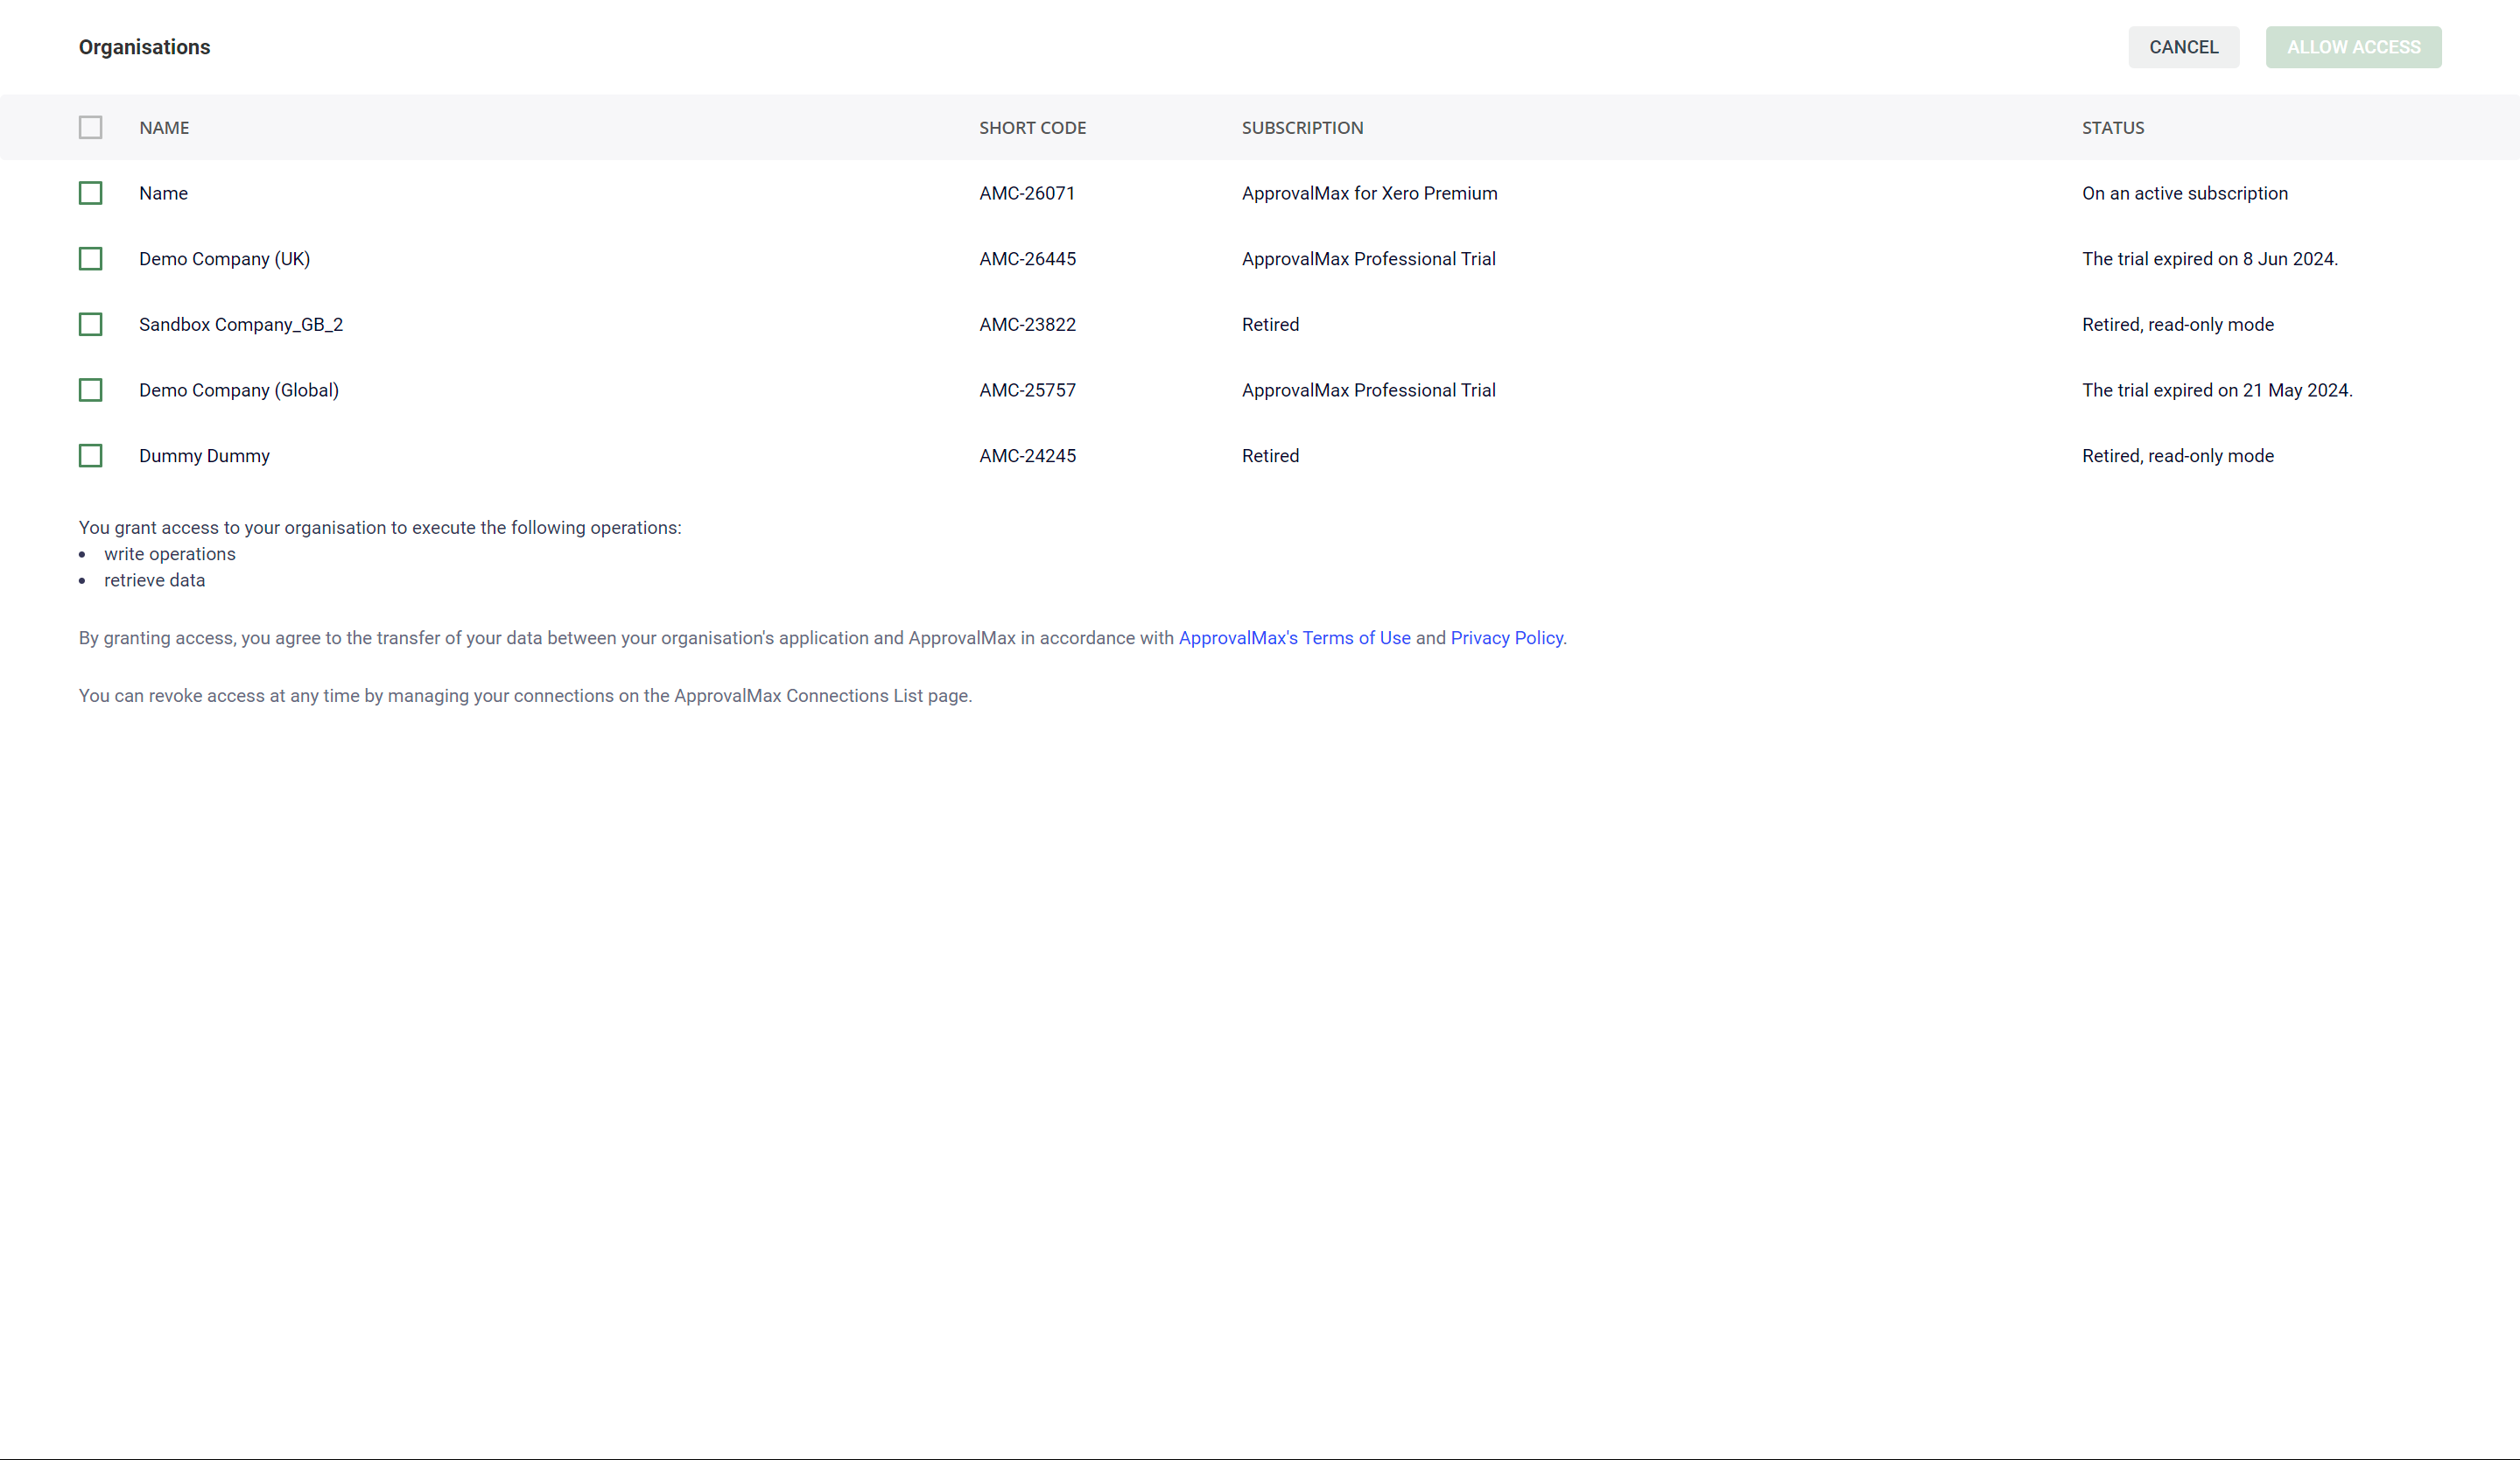
- After granting access, click on Open Postman in the pop-up window to redirect to the application:
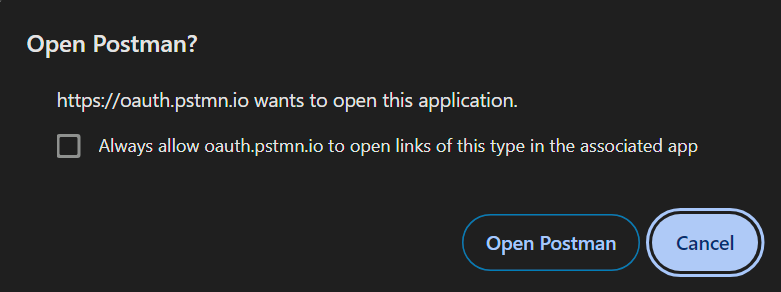
- A small pop-up will appear in Postman. Click on the Proceed button to continue:
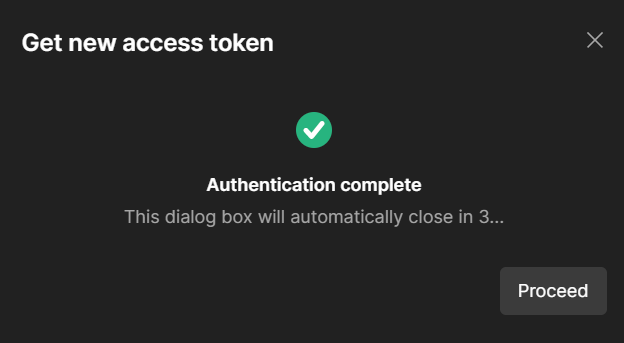
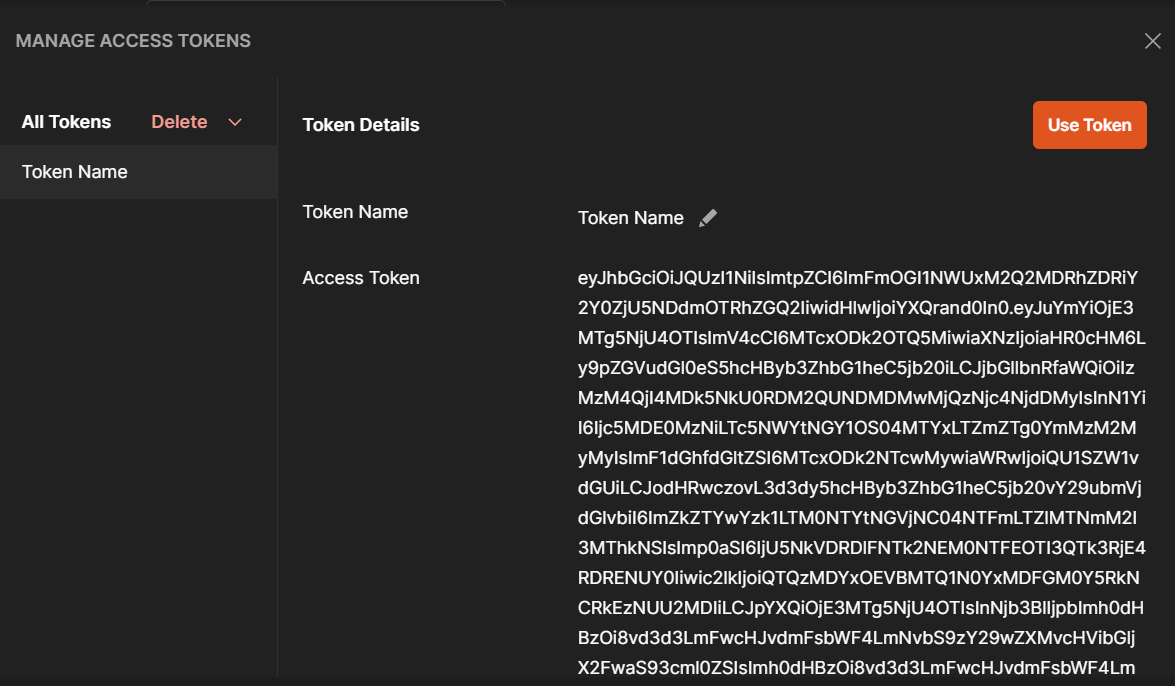
- In the Manage Access Token window, click on the Use Token button to start using the newly obtained access token:
Make your first API Call
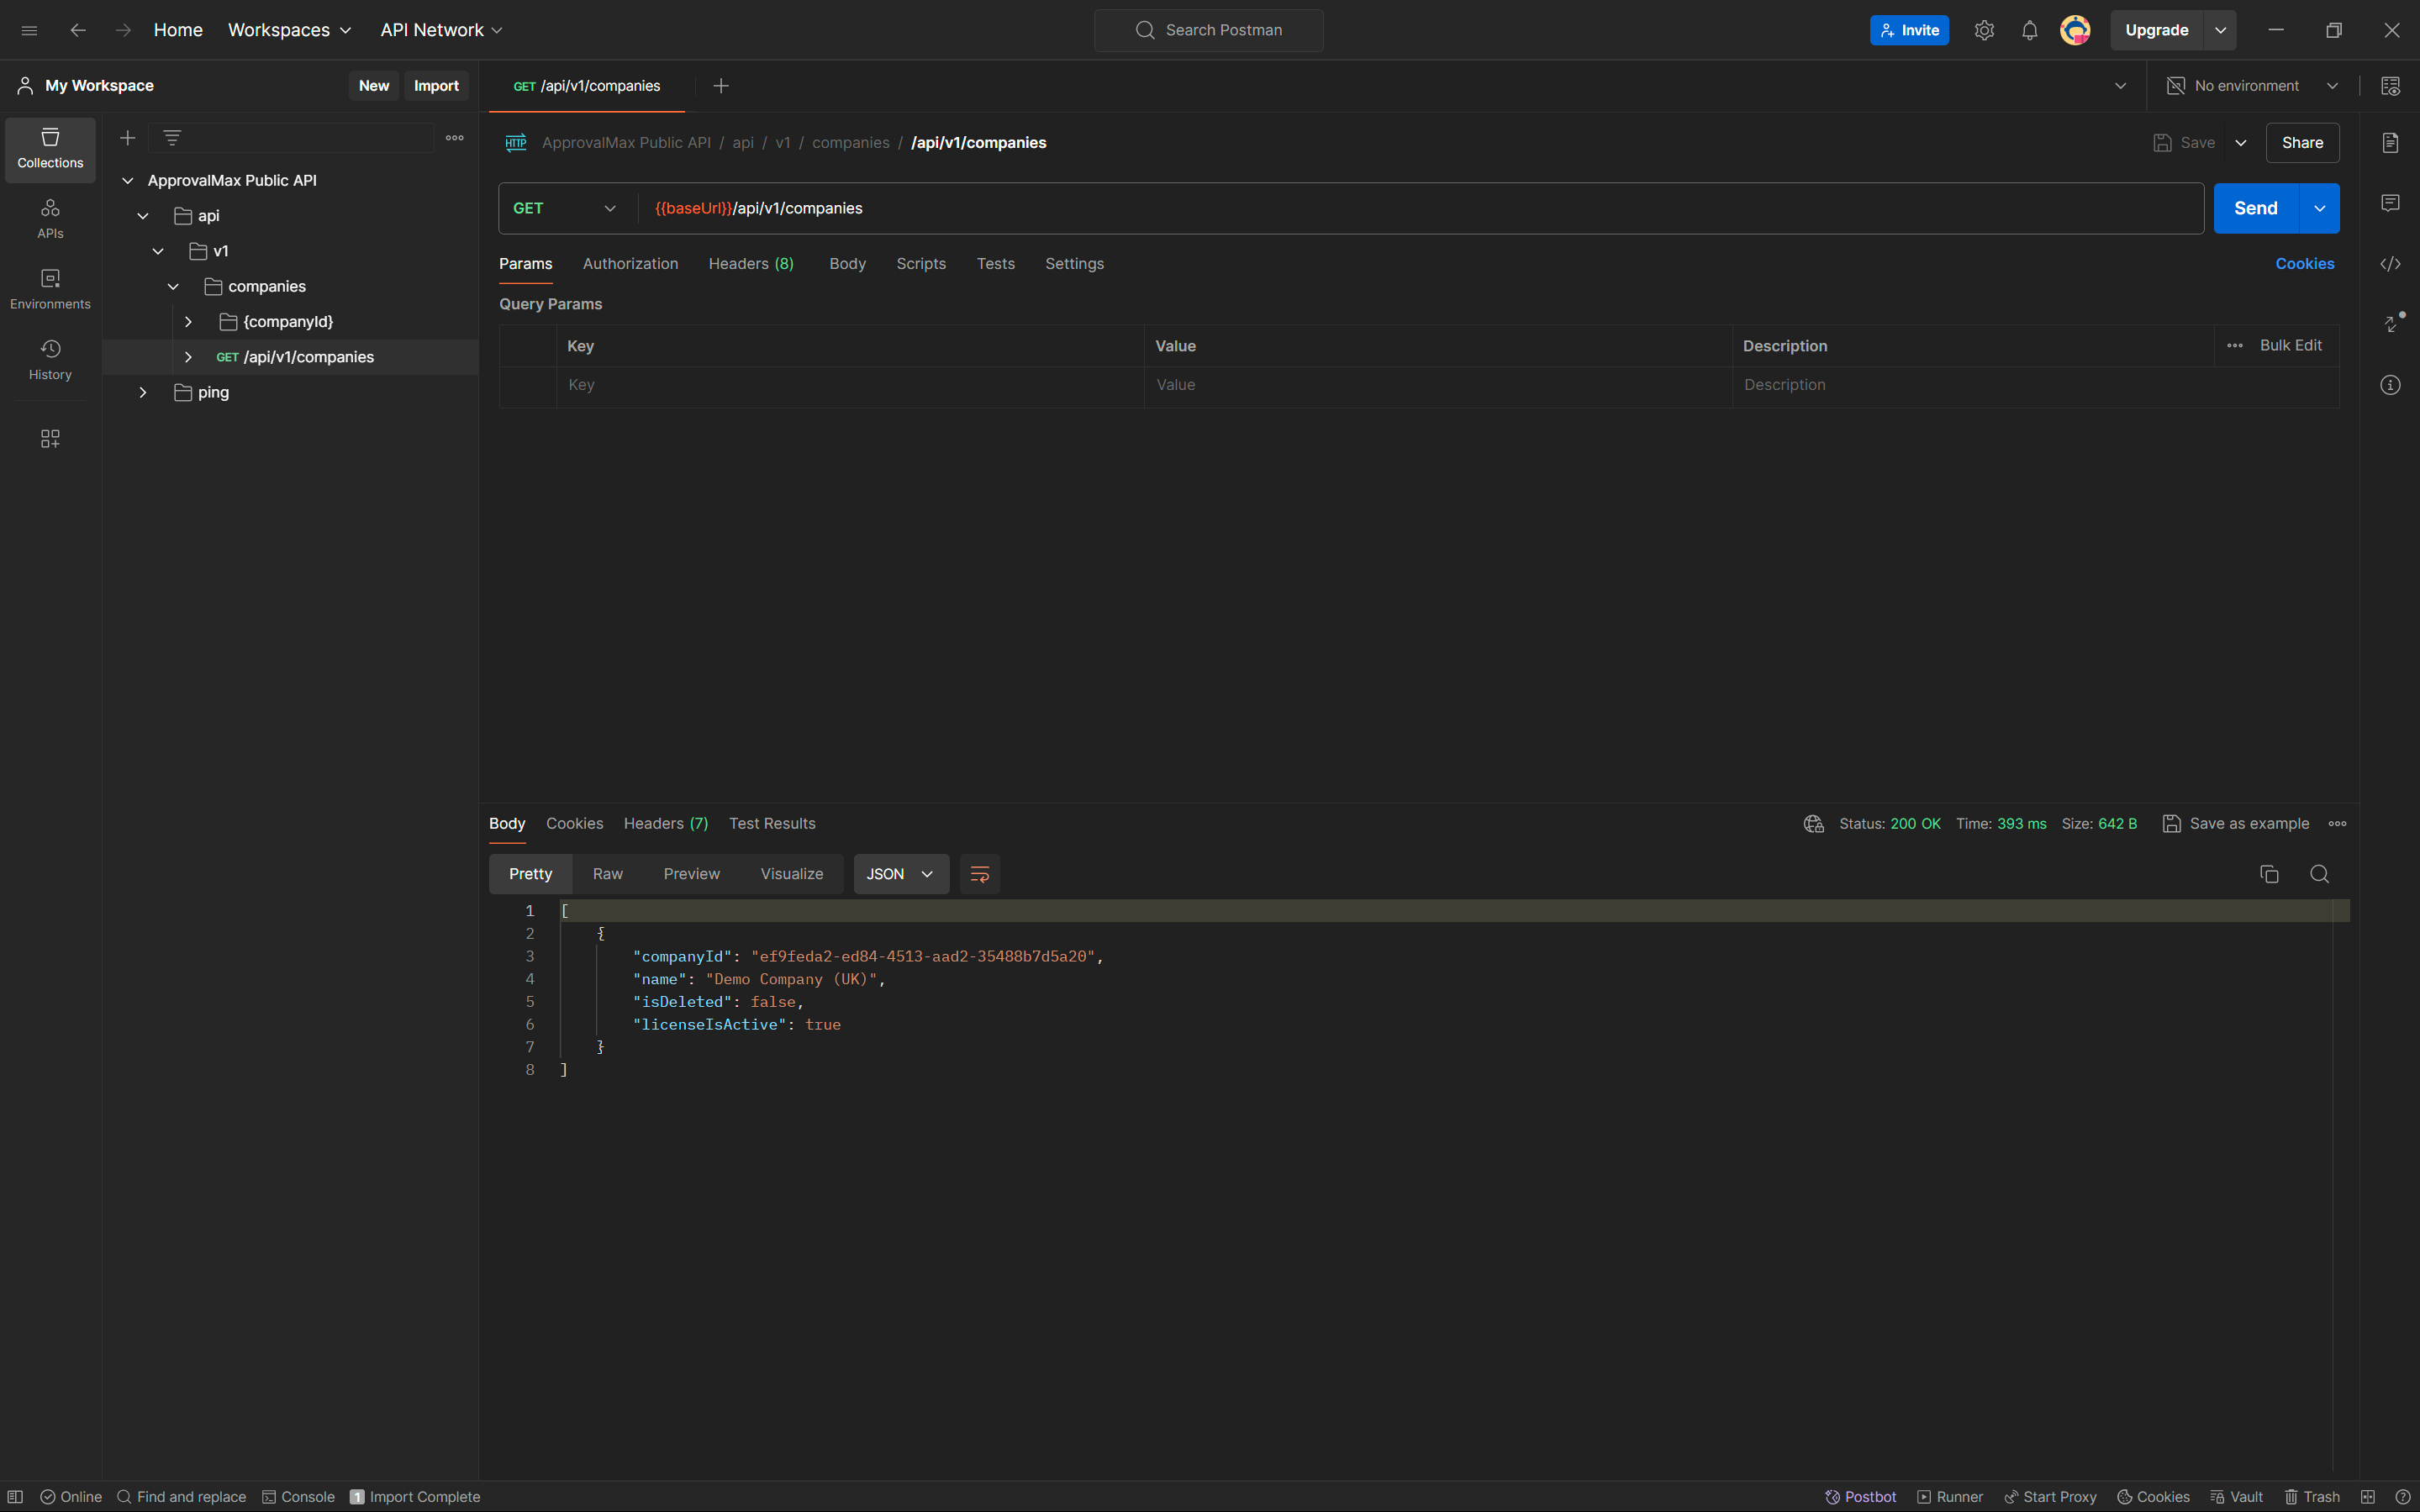
Now that everything is set up, try calling the /companies endpoint to see it in action:
-
Double-click the
/companiesendpoint. -
In the opened tab, click on the button Send and wait for the response.
